Stuffing and roasting Ashanti fowl, Part 3
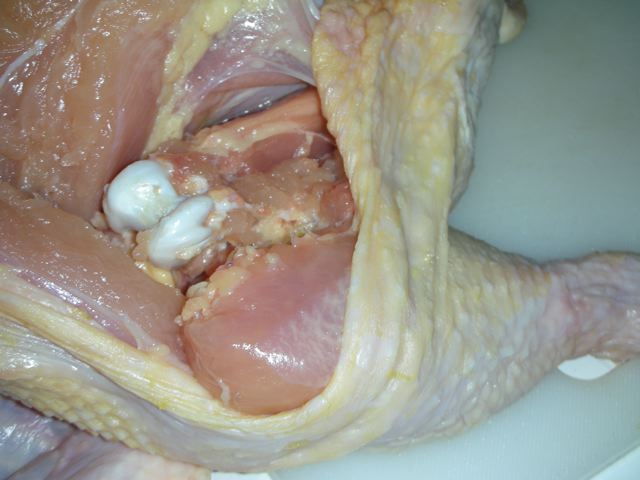
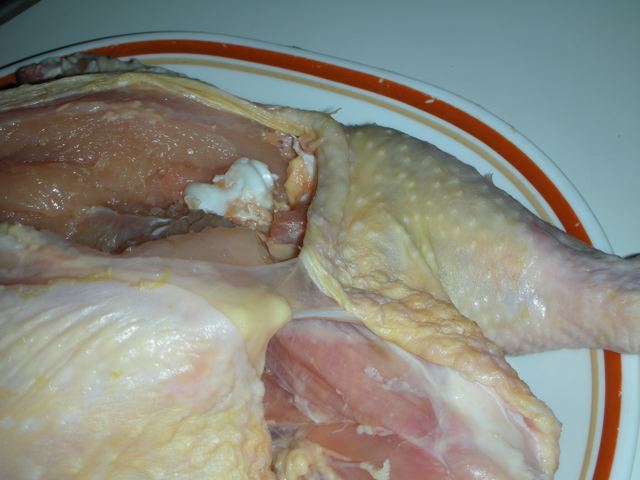
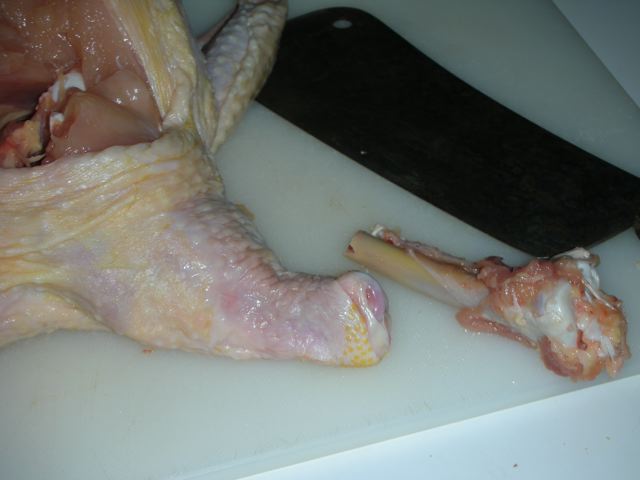
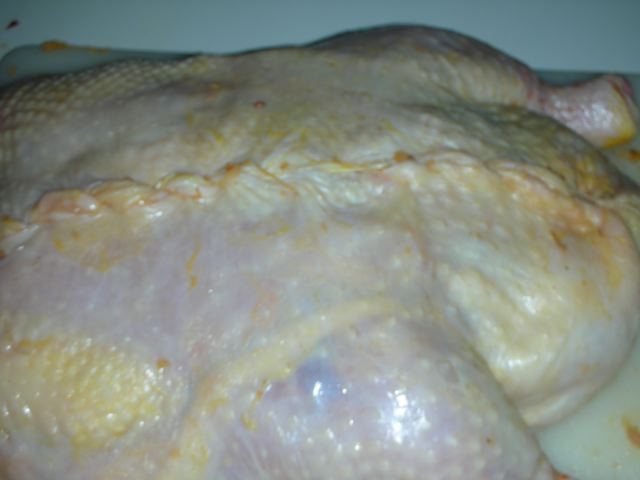
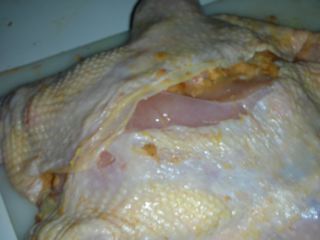
 Once the chicken is deboned (see yesterday's post), it is time to stuff it. When we did it in Ghana we first seasoned the chicken with (sigh) a crushed chicken Maggi cube, plus some salt (about 1/2 teaspoon) and about 1 teaspoon dried ground red pepper, then closed up the chicken and let it marinate a few minutes while we prepared the stuffing . I skipped the
 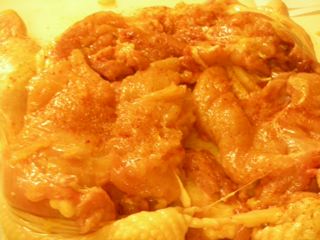 Maggi cube, and wished I'd had some fresh ginger and pepper, but used salt and dried red pepper.
In Ghana we also prepared fresh spices to coat the outside of the chicken, as is often done in Ghana when roasting meat (some fresh ground ginger [1-1/4 teaspoon], about 2 tablespoons of tomato paste, 2 cloves of crushed garlic, about 1/2 teaspoon dried red pepper, and a medium onion, grated). If you wish to use these, prepare them and set them aside until you have finished stuffing and sewing up the chicken. Other recipes simply call for coating the outside with oil and salt. That's what I did this time, basting it with its juices as it cooked.
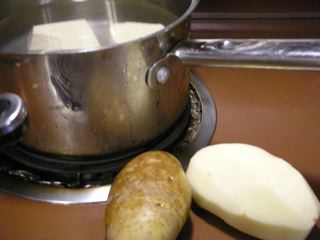
For the stuffing, in Ghana we simply peeled, boiled and mashed about 1 pound of African yam (and thought we should have used more, like 1 1/2 pounds) or one could substitute an equivalent amount of potatoes with 2 ounces of flour). The cook in Ghana added salt and a sliced onion (about 1/2 cup). I found this stuffing too bland, and followed the earlier precedents of making a sauce of chopped onion,
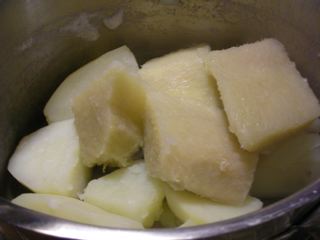
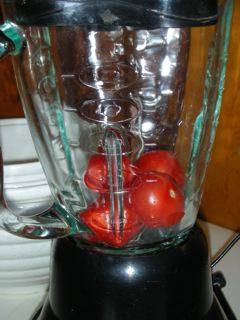 crushed garlic, blended tomatoes, salt and red pepper, a few tablespoons of natural-style peanut butter (I had crunchy on hand) and mixed that in with the yam. When I went to peel it I found much of my yam had spoiled, so I had to supplement the yam with boiled potatoes, and still didn't have as much as I would have liked for the stuffing. After boiling the yam and potatoes, I mashed them (and threw in a little butter) and set them aside while I prepared a sauce.
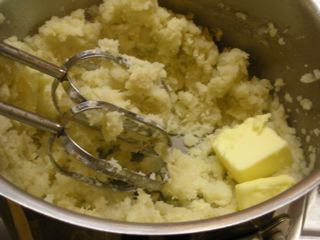
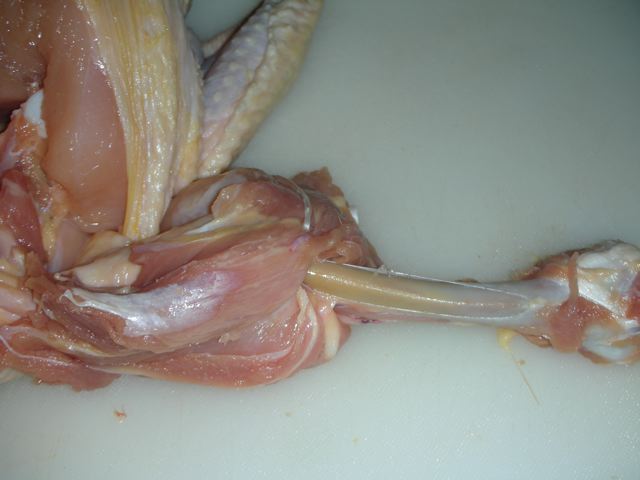
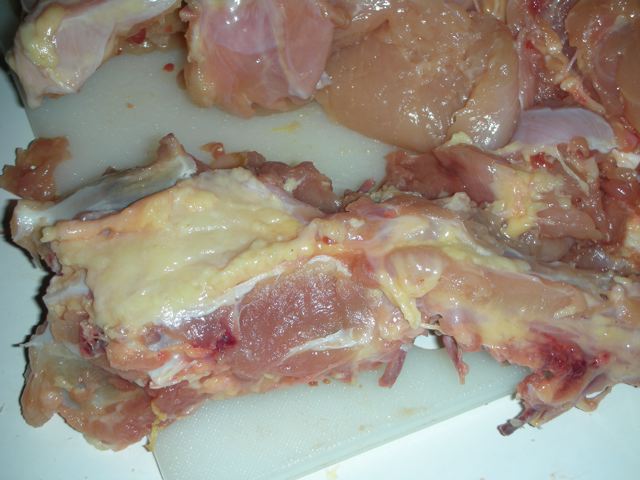
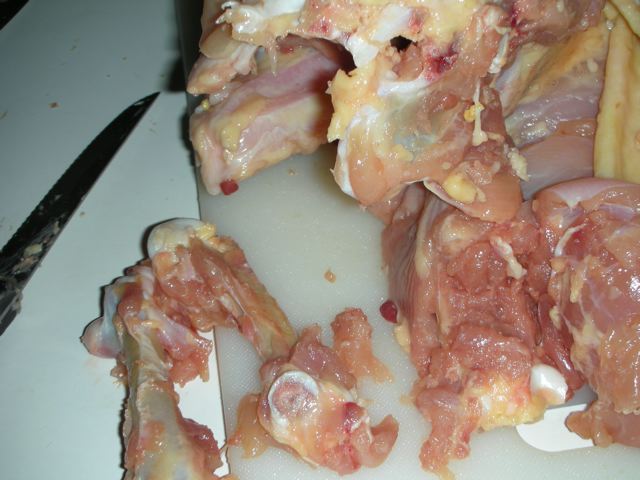
Some recipes for Ashanti chicken call for frying or cooking an additional pound of chicken meat separately, but I do not think that is necessary, either (and we did not do that in Ghana when I made it there.) Actually, while I was deboning the chicken,
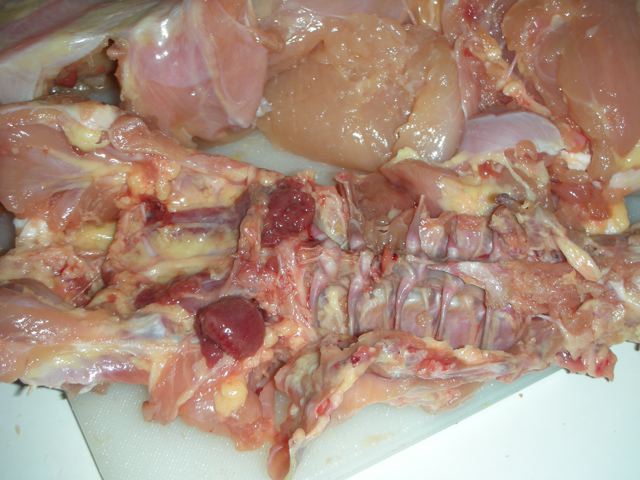
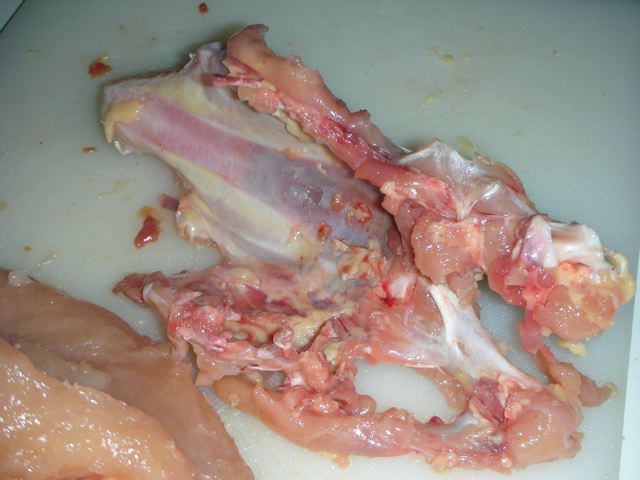
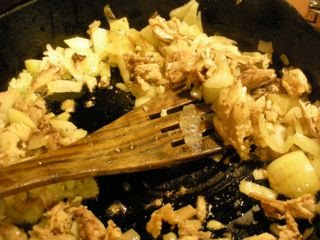
 I threw the bones with the bits of meat clinging to them, and the neck and giblets, into a pot with some onion, garlic, tomato and salt to make stock, and just removed the bits of cooked chicken from the stock bones to add into the stuffing mixture. I followed earlier recipes by throwing in a few tablespoons of natural style (crunchy) peanut butter as well. I didn't have exactly what I wanted, but used what I had handy. I think North Americans would like to add other ingredients, like maybe chopped mushrooms or parsley. My creative husband suggested experimenting with chopped okra and/or dicing but not mashing the yams.
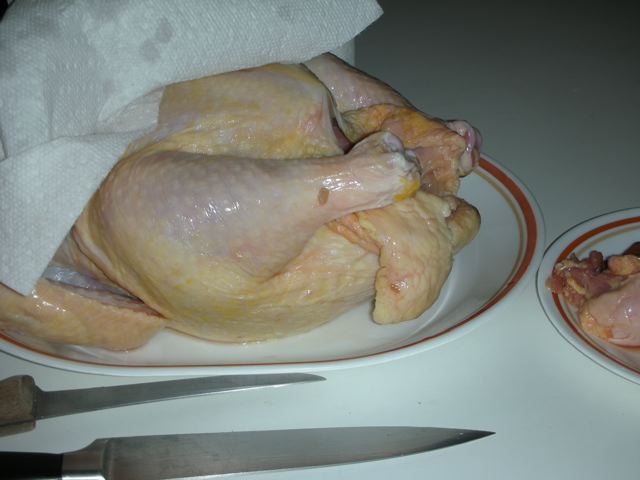
At any rate, when I had my sauce ready I mixed everything together, then stuffed the chicken and sewed it up with some kitchen twine.
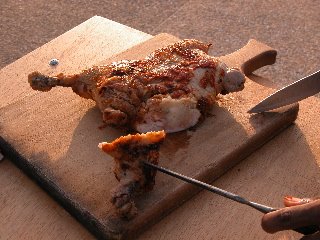
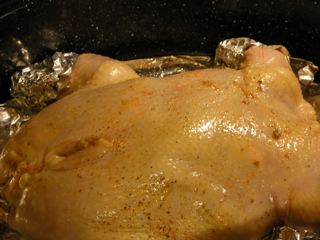
 One needs to place some foil over the pseudo wings and drumsticks to keep them from browning too quickly, and I also found I needed a little foil on the top of the chicken, which I roasted uncovered in a regular roasting pan at 375 degrees Farenheit for about an hour and a quater to an hour and a half (when my thermometer pushed into the thickest part of the chicken reached 185 degrees Farenheit).
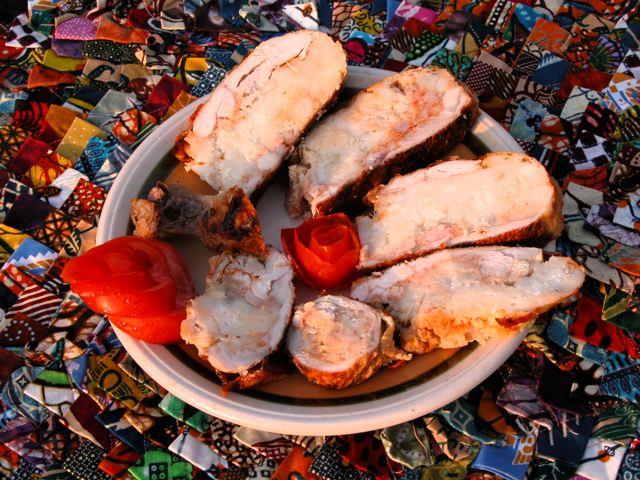
As I mentioned, I basted the chicken in the oven from time to time to keep it from drying out, and basted it with a little oil and salt. And there you have it. Serve it with some Ghanaian gravy, and a side vegetable.
Labels: african gravy, ashanti chicken, ashanti fowl
posted by Fran @ 3:11 PM
0 comments
![]()
![]()